I am going to start right at the beginning. We are going to draw out what’s going to happen in different panels on storyboards templates.
-----------
You can get templates on the internet such as these, I found just by typing in 'storyboard templates' into Google.

Images were taken from other websites.
Using templates will save a lot of time but if you don’t have a printer or would like the more personal touch to the storyboards like I do, then I suggest using a pencil and ruler and draw it out on A4 paper like in the good old days. I’ve set up how I like to lay out my storyboards. This does have more room for drawing but a lot less for text.

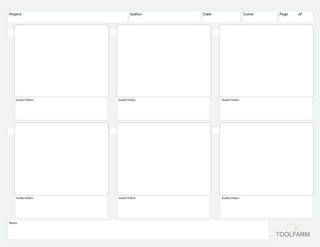
Used Photoshop to make this template, used this as a guide on paper.
- red v 20cm
- red H 27cm
- green V 6cm
- green H 9cm
- yellow and orange 0.5cm
Feel free to print this as it is not copyrighted from other websites.
Now that we have our templates we can begin drawing!
No comments:
Post a Comment